本文最后更新于:2022年5月15日 下午
摘要:基于一个SpringBoot项目,导入SpringSecurity后,进行访问。
项目搭建
- 新建一个SpringBoot项目
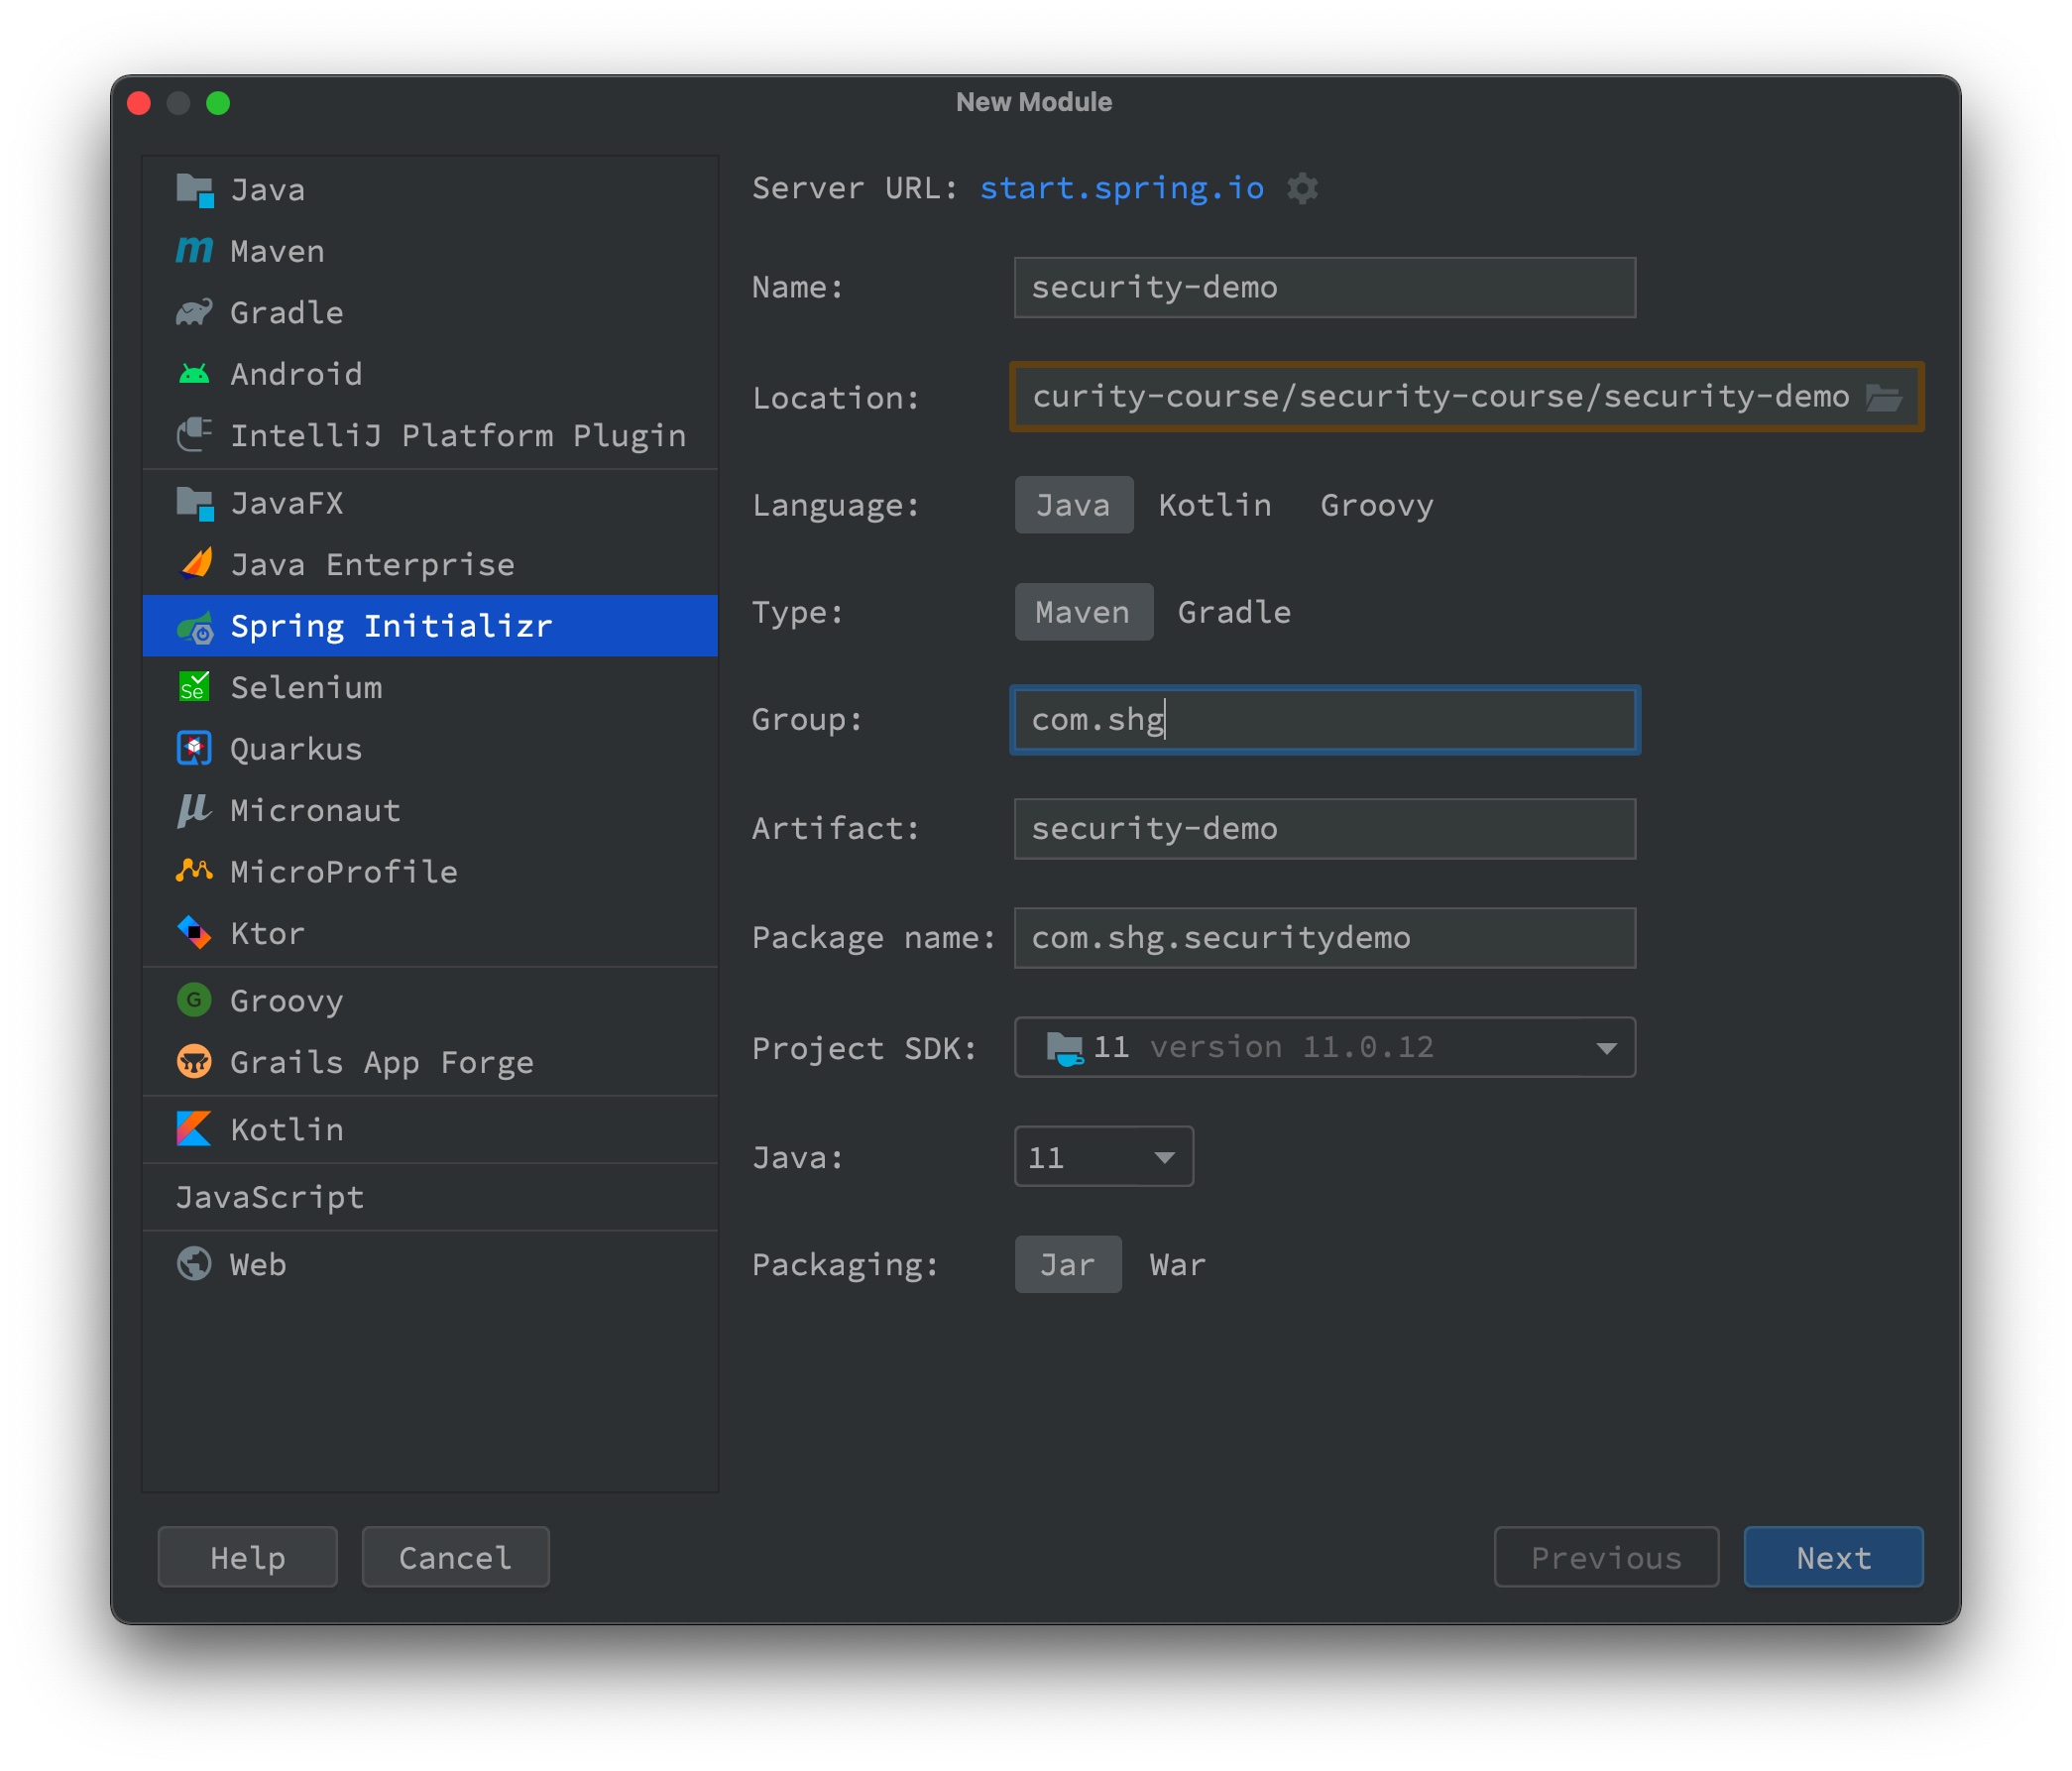
按照下图根据自己的目录填好信息后直接next,然后finish即可。

- 导入相关依赖
1
2
3
4
5
6
7
8
9
10
11
12
13
14
15
16
17
| <dependencies>
<dependency>
<groupId>org.springframework.boot</groupId>
<artifactId>spring-boot-starter-web</artifactId>
</dependency>
<dependency>
<groupId>org.springframework.boot</groupId>
<artifactId>spring-boot-starter-security</artifactId>
</dependency>
<dependency>
<groupId>org.springframework.boot</groupId>
<artifactId>spring-boot-starter-test</artifactId>
<scope>test</scope>
</dependency>
</dependencies>
|
- 在配置文件【application.properties】中指定端口号(默认为8080)
- 创建一个Controller
1
2
3
4
5
6
7
8
9
10
11
12
13
14
15
16
17
18
19
20
21
| package com.shg.securitydemo.controller;
import org.springframework.web.bind.annotation.GetMapping;
import org.springframework.web.bind.annotation.RequestMapping;
import org.springframework.web.bind.annotation.RestController;
@RestController
@RequestMapping("/test")
public class TestController {
@GetMapping("hello")
public String hello() {
return "hello security";
}
}
|
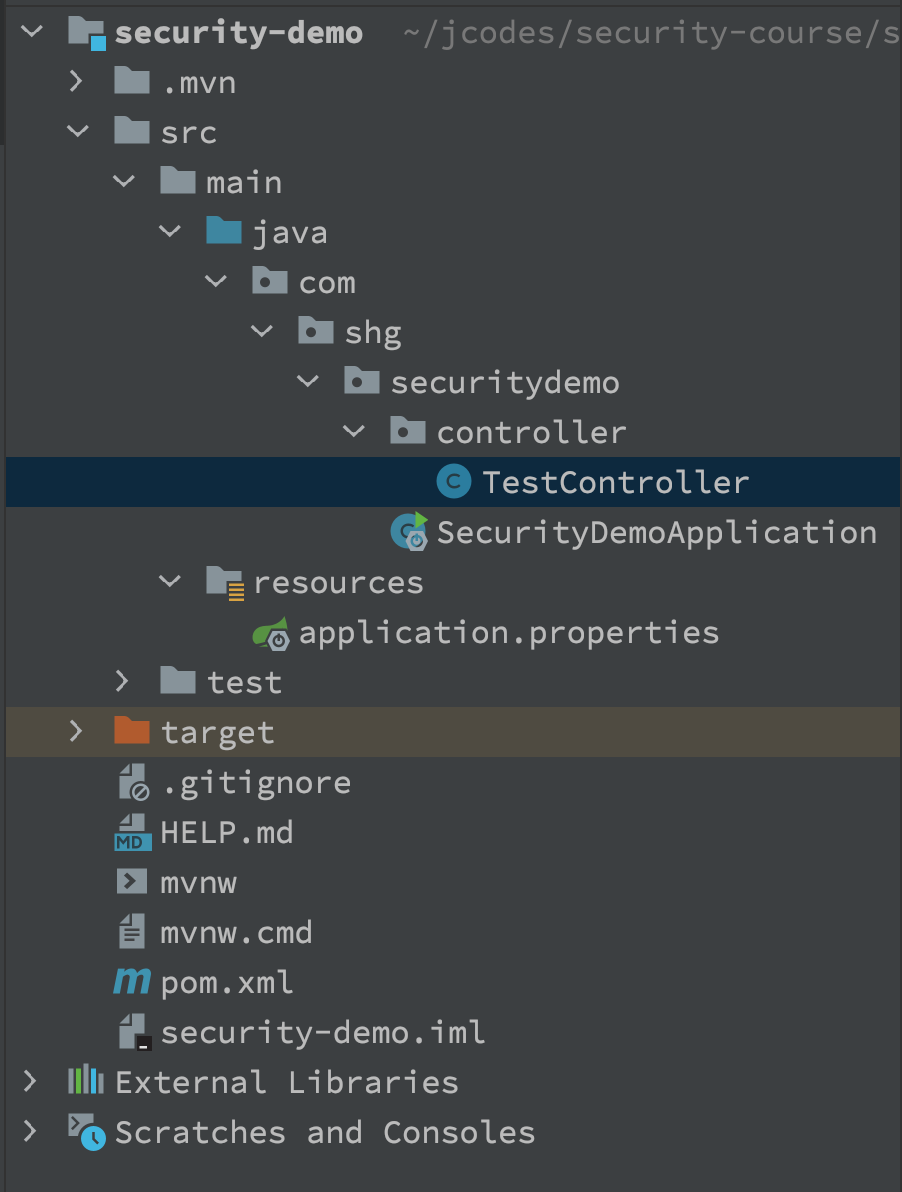
- 项目结构如下

- 启动项目
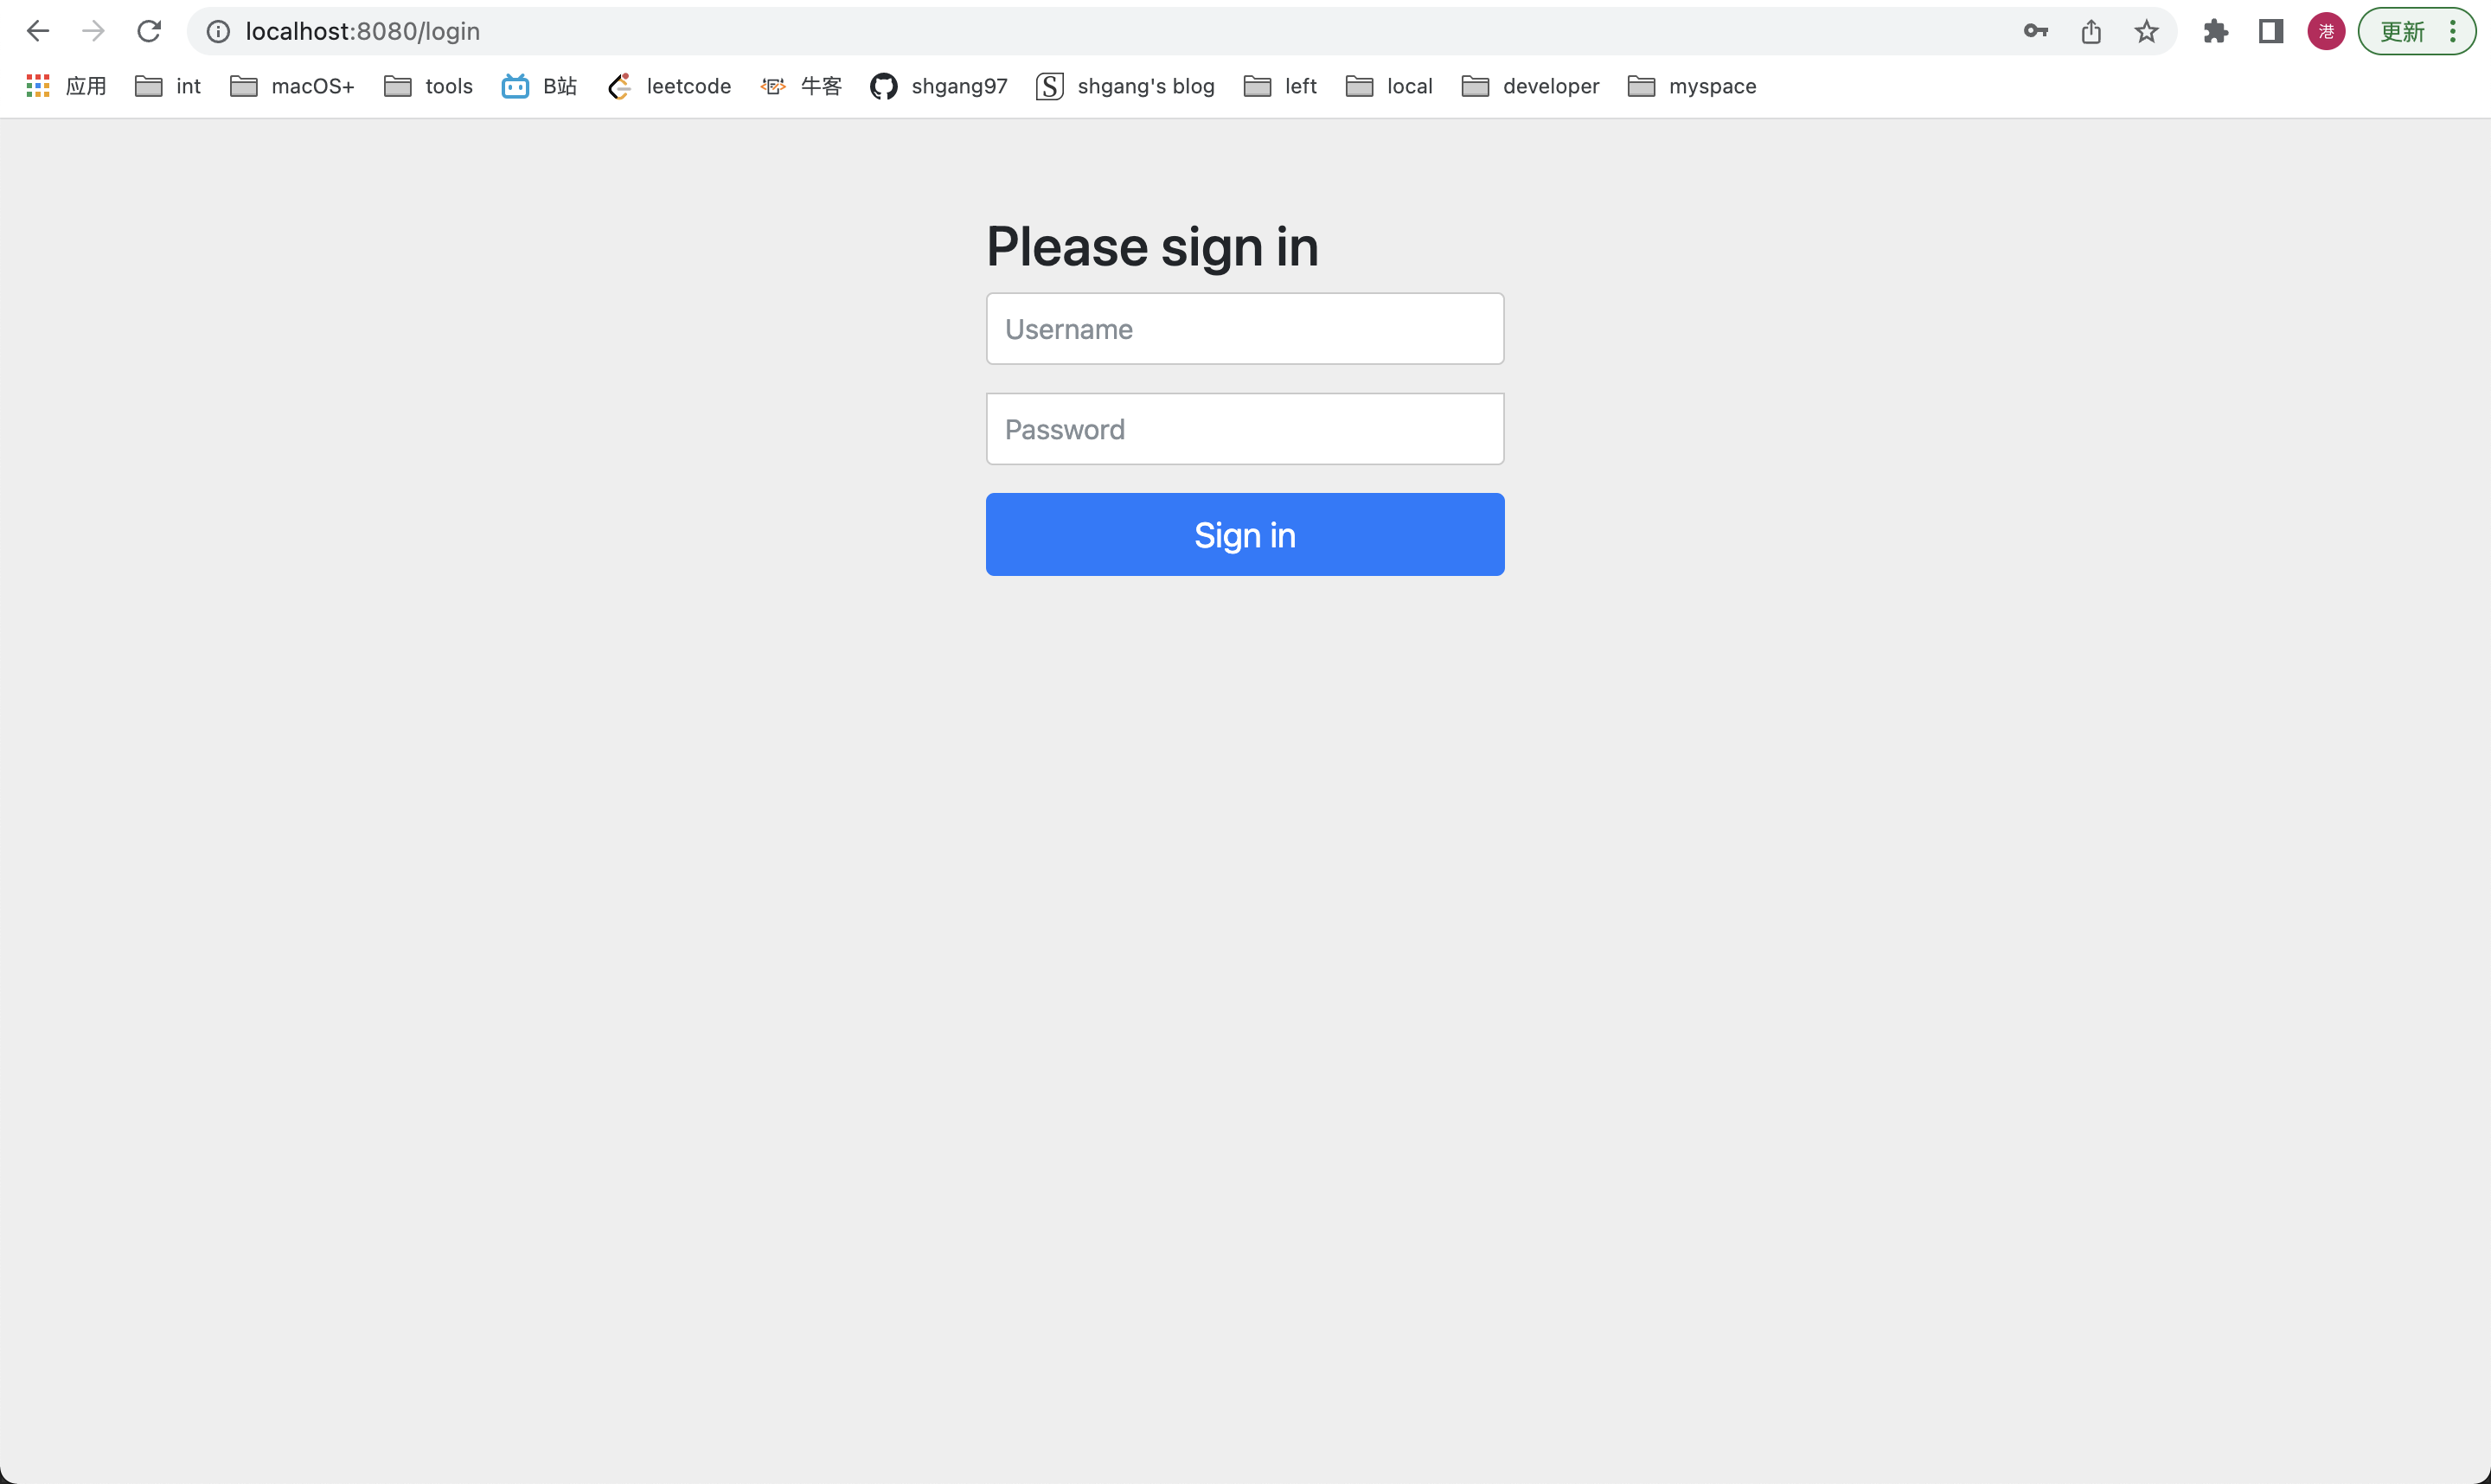
启动SecurityDemoApplication中的main方法启动项目,访问http://localhost:8080/test/hello会自动跳转到登录页面http://localhost:8080/login

- 用户名默认为:user
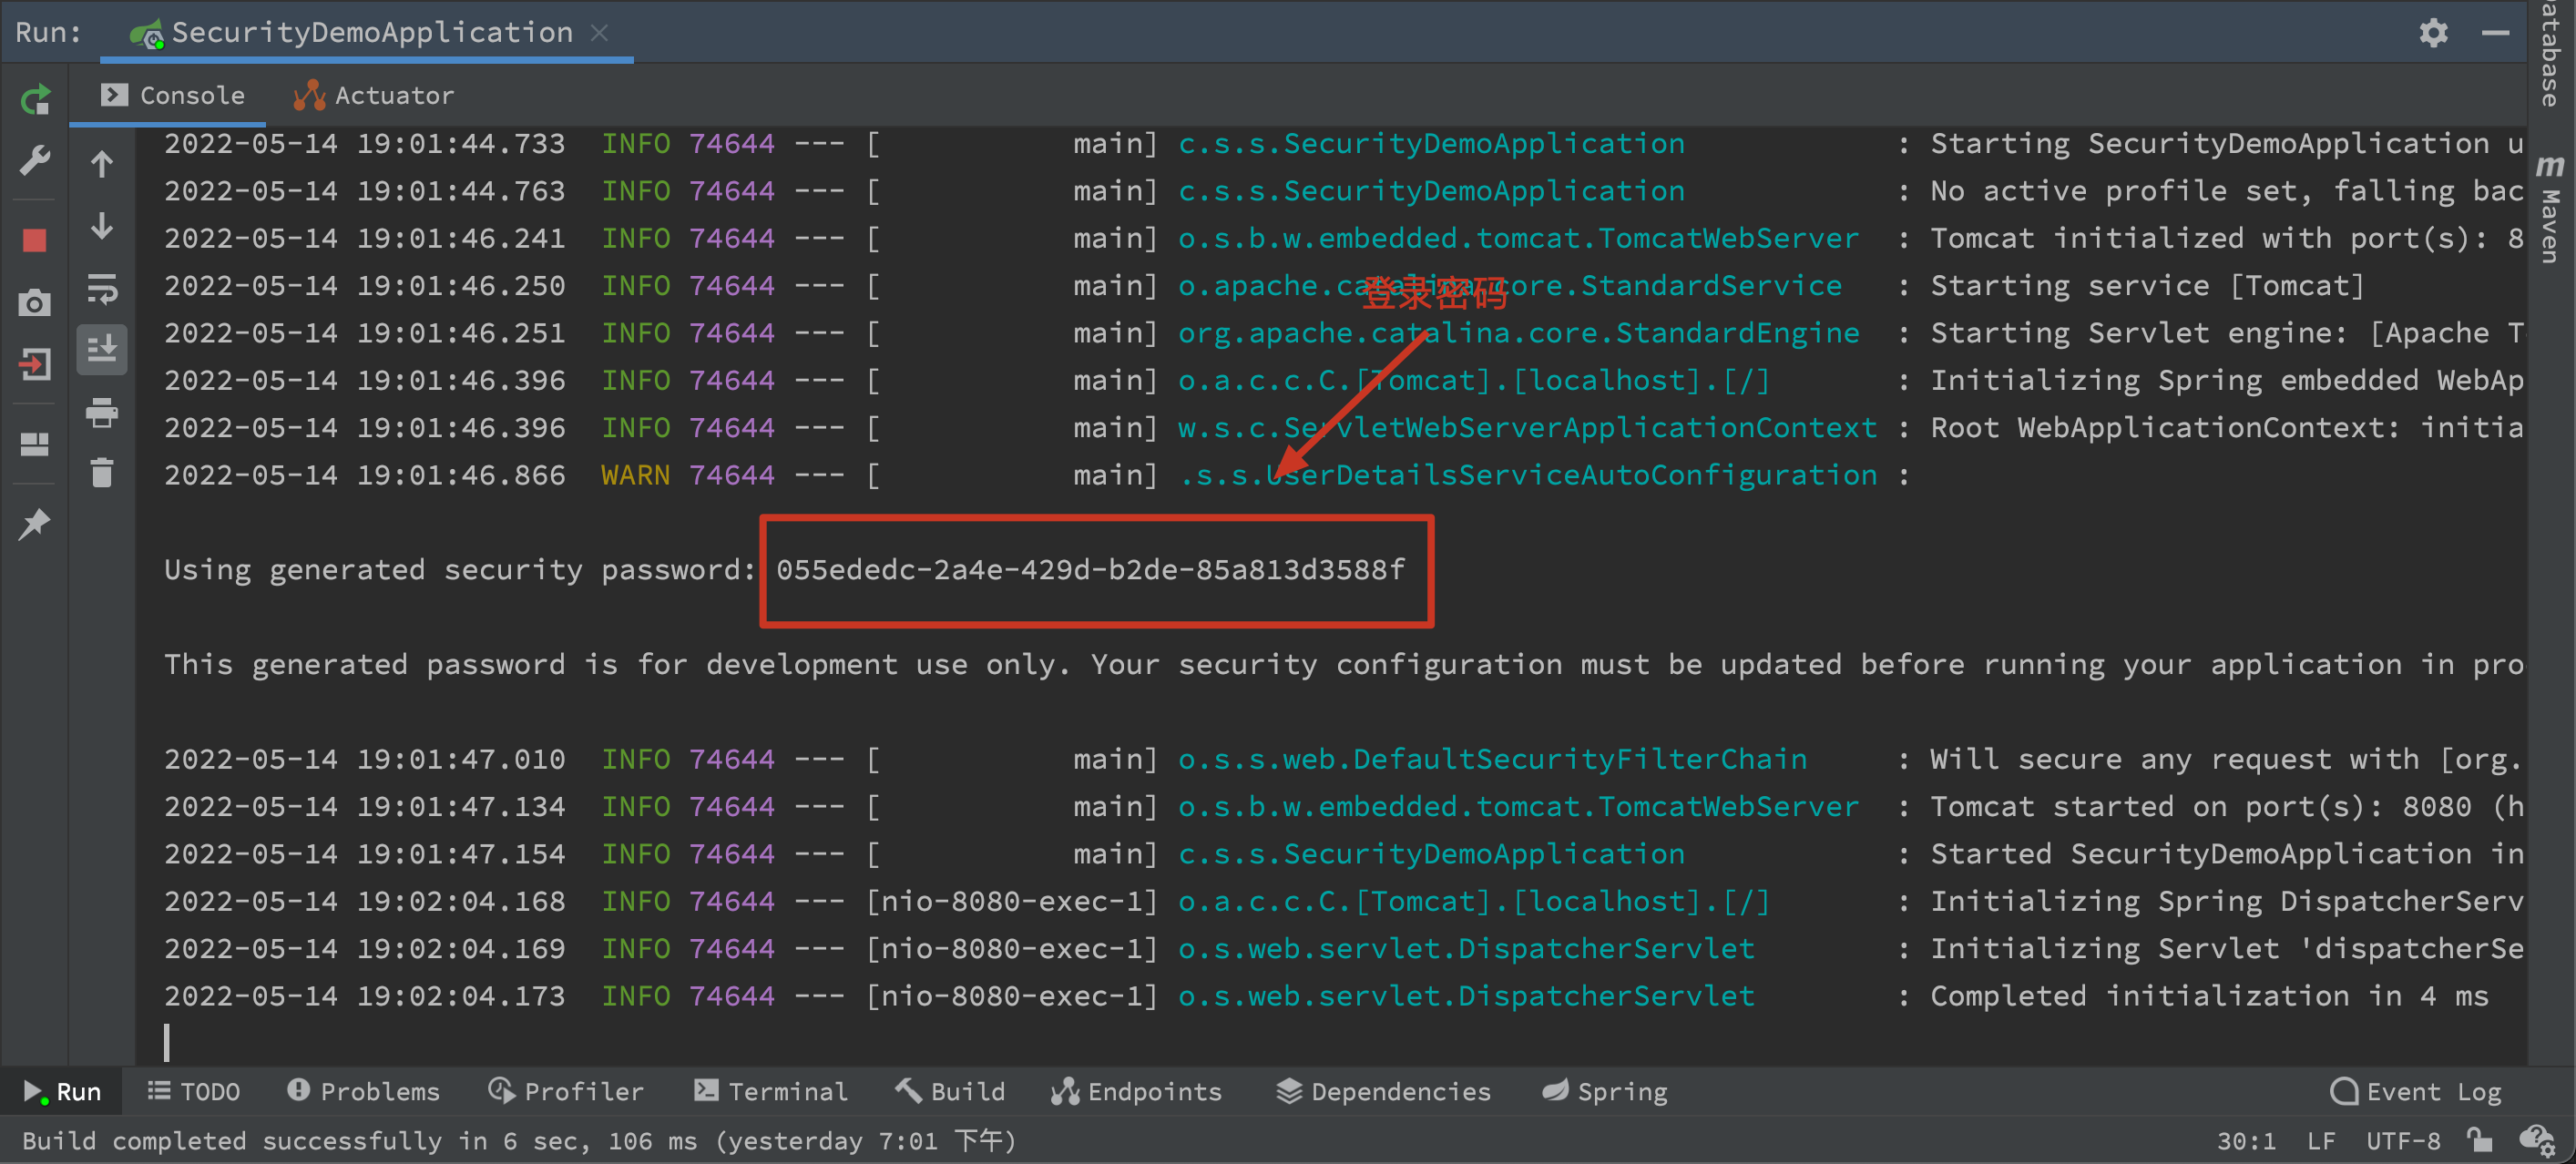
- 密码从启动控制台中可以找到

输入用户名和密码后登录可以看到如下页面,项目搭建完成


